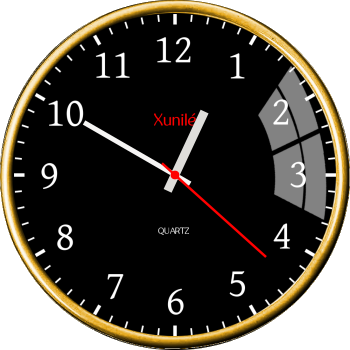
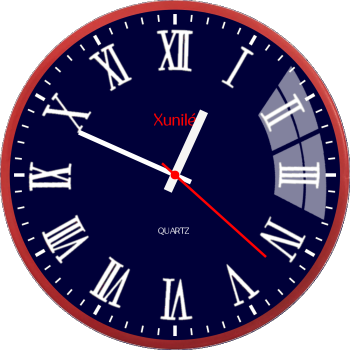
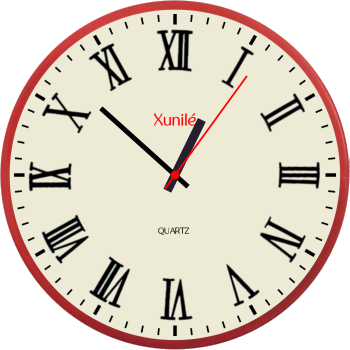
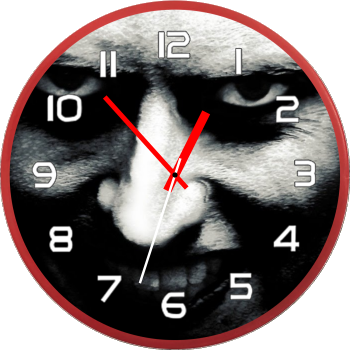
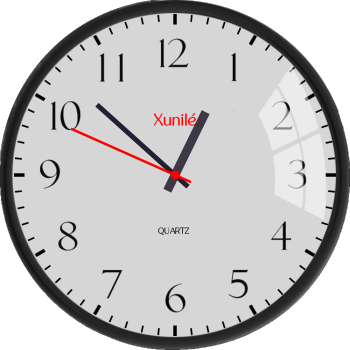
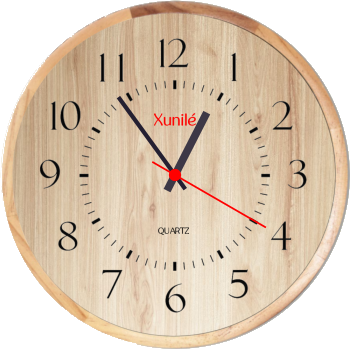
ClockMaker is a customizable analog clock developed for the Linux platform. Like other analog clock applications, ClockMaker renders a clock on your computer's desktop; however, it also allows you to change the clock's appearance and then save it as a new clock.
ClockMaker's features include:
This package is for installing ClockMaker onto Debian and its derivative distributions.
To install from this package, download it to your computer, (right-click on it and choose "Open With" and "GDebi Package Installer" (or similar). When GDebi opens, click on the install button to install the application.
For Other Linux Distrosclockmaker_1.0_amd64.tar.gz (generic)
This package archive is primarily intended for anyone installing ClockMaker on a Linux system for which there is presently no native distribution package available (i.e., a .RPM package). Note that the script included in this archive will install ClockMaker locally, beneath your home folder (in the ".clockmaker" subfolder) and therefore, the app will only be available to your user and no other users on your system. For other users to run ClockMaker, they will also need to install the app from this package as well.
To install from this archive, download it to your computer and extract it onto the Desktop folder (or similar) and then follow the instructions in the "readme.txt" file.
When ClockMaker is run from your system's menu (or it is run from the command line without arguments), it displays the "Default" clock. To change the displayed clock or to alter its properties, you must access the app's menu which is accessible via a right-click. In addition to "About" and "Quit", this menu provides access to the following three options:
The "ClockMaker" menu option opens ClockMaker's web page on GitLab in your web browser.
The "Clocks" menu option displays a dialog that enables you to set which clock is displayed. This dialog can also be used to maintain the list of clocks available. For instance, you can create a new clock from an existing one simply by typing a new name into the clock dropdown and then clicking the "Save" button.
Warning: Be careful when saving a clock not to accidentally save it to an existing one, as no warning will be provided.
The Clocks dialog also allows you to delete clocks. Simply enter the name of the clock you wish to delete and then click the "Delete" button.
The "Properties" menu option displays the properties dialog. As its name suggests, this dialog enables you to change a clock's properties. In general, the various fields/controls on this dialog should be self-explanatory; however, it should be understood that ClockMaker renders a clock face from up to five different layers: background, border, numeral, tickmark and extra. A given clock can employ any combination of these five layers. Generally, you'll use the background layer to specify just a background image which might be a solid color, a gradient or perhaps an image of something but there's nothing to prevent you from placing other clock "components" on this or any other layer. An example of a clock that uses just one layer for all of its components is the "Default" clock, the background layer of which consists of the numerals and tickmarks in addition to a white background. As you might expect, the border, numeral and tickmark layers provide for rendering borders, numerals and tickmarks. Not quite so obvious is the "extra" layer which is typically used to render anything that isn't otherwise accounted for by the other layers and you'll notice that some of the pre-built clocks use this layer to render text or "highlights" onto the clock face. The remaining fields on the properties dialog should be self-explanatory with the possible exception of the cap size and color. Here, "cap" refers to the small disc or filled circle that appears at the center of the clock on top of the clock hands.
Warning: Changes made to a clock's properties will not automatically be saved! After changing a clock's properties, if you want the changes to be permanent, you must save the clock (with its new properties) by opening the Clocks dialog and then clicking the "Save" button.
With the exception of maintaining the list of saved clocks, everything that can be done via ClockMaker's GUI can also be done from the command line. You can set which clock is displayed and you can alter its properties. In addition, you can specify the size of the displayed clock. If you wish to save a clock that has been designed at the command line, you can do this once the clock is displayed by using the instructions above for saving a clock from the GUI.
For details on running ClockMaker from the command line, you can either view ClockMaker's man page or you can execute ClockMaker from the command line with the "--help" option.
ClockMaker comes packaged with a modest set of clock component images for the background, border, numeral, tickmark and extra layers. Adding to these existing component images is a matter of either creating your own images in a graphics editor like GIMP or finding suitable images on the web. All such images should have a square aspect ratio (width = height) and although technically, they can be of any reasonable dimension or size, a size of 1000 pixels is generally ideal (assuming that your displayed clocks won't be significantly larger than this value).
Note that just because a component image must be of a square aspect, this doesn't mean that the visible part of the image must likewise be "square". That part of the clock face which is actually visible can take almost any shape you can imagine, so long as it fits within the square aspect image.
Note also that the size of clock component images has no real bearing on the size of the displayed clock as these images are automatically scaled to match the display size of the clock. That said, if you intend to display your clocks at say, 1000 pixels and the numerals image is only 200 pixels then be aware that the numerals may turn out to be pixelated. One last thing worth mentioning is that, in order to work with ClockMaker, all component images must be of type .png as an alpha channel is needed in order to achieve transparent corners (thus a circular window).
To create transparent corners using GIMP, you can easily apply a mask to an image based on an elipse (circular) selection. First be sure that the square aspect image layer has an alpha channel and then choose the elipse selection tool, select the entire image (using ctrl-A) and finally, add (and apply) a mask to the image layer based on this selection. If done right, this will result in your image having transparent corners.
Now, having explained how this is essentially done from scratch, realize that you can always just copy an existing component image to serve as the basis for a new one...
If you have any questions or comments regarding ClockMaker, I can be contacted via my blog.
ClockMaker - a customizable analog clock for your desktop
Hiero - a single-pane outliner for Linux